Photoshop
Removing a green screen
Removing a green background in Photoshop is ONE CLICK NOW for the cut and CURRENT for the part that matters: press Remove Background in the Contextual Task Bar and the green is gone, then spend the next 5 minutes killing the green light that the screen threw onto your subject, which no mask removes. Adobe's Photoshop documentation describes that button as detecting the subject automatically and producing a layer mask, and a properly lit green screen is the easiest subject any detector will ever see. The failure on this operation is almost never the edge. It is the spill: the green rim along shoulders and hair, and the green cast in the shadows, which is what makes a composite look pasted on. Leave it in and the picture announces itself, which puts a skipped spill pass squarely in the DATES THE PICTURE column.
ONE CLICK NOW
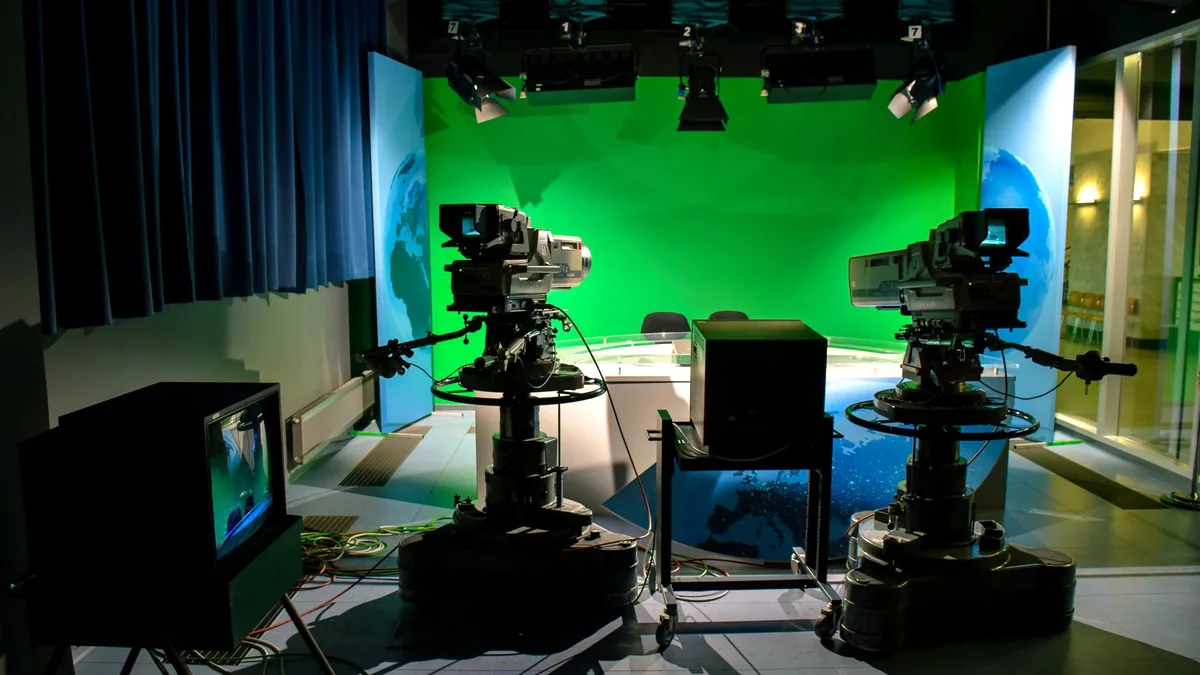
The colour key route, when one click is not clean enough
The colour key route selects the green itself rather than the subject, and it gives you a slider where the automatic button gives you a result.
- Duplicate the layer with
Ctrl+J(Cmd+Jon macOS), because everything below is reversible only if the original survives. - Choose
Select > Color Rangeand setSelecttoSampled Colors. - Click once on the green with the eyedropper, in a mid tone area, not in the brightest or darkest part of the screen.
- Add the rest of the screen with the plus eyedropper, clicking 3 or 4 more times across the lighter and darker patches.
- Raise
Fuzzinessuntil the preview shows the screen as solid white and the subject as solid black, usually between30and60. - Tick
Localized Color Clustersand pullRangedown, if a green object in the scene is being taken with the screen. - Press
OK, thenCtrl+Shift+Ito invert the selection onto the subject. - Click the
Add Layer Maskbutton at the foot of theLayerspanel.
What goes wrong at step 5 is chasing a perfect preview. Past about 70, Fuzziness starts eating the subject's own greenish midtones, particularly in skin shadow and in denim. Stop at the point where the screen is white and accept a grey fringe, then clean that fringe with the spill work below rather than with more Fuzziness.
Removing green spill from the subject
Removing green spill is the step that separates a finished key from an obvious one, and there are 4 tools for it, in order of how much control they give you.
Select and MaskwithDecontaminate Colorsticked at around60%, which rewrites the colour of semi transparent edge pixels and handles hair in the same pass.Hue/Saturationas an adjustment layer clipped withCtrl+Alt+G, set to theGreenschannel, withSaturationpulled to-100andHuenudged toward yellow by about+15.Image > Adjustments > Selective ColoronGreens, reducingCyanandYellowand addingMagenta, which is finer than a blanket desaturation and keeps real green objects alive.Layer > Matting > Defringeat1 pxor2 px, which replaces the outermost ring of edge pixels with the colours just inside it.
Check the result against a mid grey background, not against the final scene. Green spill hides inside a green scene and reappears the moment the composite goes onto a blue sky, and a mid grey layer at 50% brightness shows it immediately.
Painted wall or projector screen: what to shoot against
A painted wall beats a projector screen for keying, and the difference is not the colour but the surface. A pull down projector screen is built to bounce light back at the audience, so its gain is high and its surface is slightly glossy, which produces hot spots that read as 3 or 4 different greens to Color Range and forces the Fuzziness up until the subject starts to go. Chroma paint on a flat wall is matte by design, so it reflects evenly and the whole screen keys as one value. The practical comparison, for anyone deciding before they shoot rather than after:
| Backdrop | Surface | What it costs you in Photoshop |
|---|---|---|
| Matte chroma paint on a flat wall | Even, non reflective | 1 eyedropper click and a low Fuzziness |
| Cotton or muslin green cloth | Even but creased | Extra clicks for the shadowed folds |
| Projector screen used as a backdrop | Glossy, high gain | Hot spots, uneven key, heavy spill |
| Painted wall lit from one side only | Even surface, uneven light | A gradient of greens that keys in 2 passes |
Lighting beats surface in every case. Light the screen separately from the subject, keep the subject at least 1.5 m (about 5 ft) off the backdrop, and the spill problem largely solves itself before you open the file.
The channel method, and Photoshop CS6
The channel method builds the key by hand and works in every version of Photoshop ever released, including CS6 from 2012, which has neither the Contextual Task Bar nor Select Subject. It is also the most precise route when a keyed edge has to hold up at print size.
- Open the
Channelspanel and click throughRed,GreenandBlueto find the one where subject and screen differ most, usuallyBluefor a skin toned subject on green. - Drag that channel to the
New Channelbutton to copy it, so you are not editing the picture. - Press
Ctrl+LforLevelsand drag the black and white input sliders inward until the subject is solid black and the screen is solid white, with no grey between them except at the real edge. - Paint any remaining grey inside the subject with a black brush at
100%opacity, and any grey in the screen with white. Ctrl+clickthe channel thumbnail to load it as a selection, click back on theRGBcomposite, then pressCtrl+Shift+I.- Add a layer mask, and finish with
Select > Refine Edgein CS6 orSelect and Maskin a current version.
What goes wrong at step 3 is pushing Levels so far that the edge becomes 1 pixel wide with nothing in between. That hard binary edge is exactly the giveaway a green screen composite is not supposed to have, and it is unfixable afterwards. Leave a band of grey 2 px to 3 px wide around the subject and let it carry the transparency.
Placing the subject in the new scene
Placing the keyed subject is where a technically clean key still fails, because the mask says nothing about whether the two images belong together.
- Match the light direction first, flipping the background horizontally if that is what puts the key light on the correct side.
- Match the black point with a clipped
Curveslayer, since a subject shot on a bright screen almost always has lifted shadows compared with a real location. - Add a contact shadow on its own layer under the subject, painted with a soft black brush at
20%opacity, because a figure with no shadow floats. - Blur the background slightly with
Filter > Blur Gallery > Field Blurif the subject was shot at a wide aperture, so the depth of field agrees. - Add matching grain last, at the same strength across both layers, since 2 different noise patterns in one frame are visible even at small sizes.
Save the layered PSD and export with File > Export > Export As to PNG if the subject needs to stay transparent, since JPEG has no alpha channel and will fill the cutout with white. Photoshop on a phone handles a simple key with Tap Select in the free app if you are away from a desktop, and Photoshop, operation by operation lists the neighbouring operations, including Removing a background in Photoshop for subjects that were never shot on a screen at all.
Where to go next
Keep making.
All guides One click now
Remove the background. Keep the detail.
Start with one click. Learn what to do when hair, glass and difficult edges need a little more care.
 Still relevant
Retouch the portrait. Keep the person.
Natural texture, considered corrections and knowing when to put the brush down.
 Still relevant
A better way to blend in.
Understand what blend modes actually do, and choose the right one for the image.