Photoshop
Photoshop: the first hour
Photoshop for beginners comes down to 4 things in the first hour, and the correct order is layers, selections, masks, undo: everything else in the program is a variation on those. This is a CURRENT foundation, unchanged in 20 years of releases, which is why it is worth an hour when a specific effect is not. What has changed is the first 20 minutes of the old beginner curriculum: the tracing, erasing and manual cutting that a 2006 tutorial opened with are ONE CLICK NOW, so learning them first is learning the wrong hour. Start with the 4 below, in order, on a photograph you do not care about.

Layers, which is the whole idea
Layers are stacked transparent sheets, and understanding that one sentence is most of what separates somebody who can use Photoshop from somebody who cannot. The layer at the top of the Layers panel covers the ones beneath it, each layer moves and edits independently, and the picture you see is the stack looked at from above.
- Open
Window > Layersand dock the panel where you can see it, because every operation on this page starts by choosing a layer in it. - Press
Ctrl+J(Cmd+Jon macOS) to duplicate the current layer, and do this before any edit you might regret. - Double click the locked layer named
Backgroundand accept the rename, since a locked layer refuses most commands. - Click the eye icon beside a layer to hide it, which is how you compare a change against the original in 1 second.
- Drag a layer up or down the stack to change what covers what, and press
Vfor theMove Toolto reposition its contents. - Lower
Opacityat the top of the panel to about50%to blend 2 layers, which is the whole mechanism behind double exposure and collage work.
What goes wrong here is editing the wrong layer. Photoshop applies every brush stroke, filter and adjustment to whichever layer is highlighted, and the commonest beginner half hour is spent painting confidently onto an invisible layer. Look at the Layers panel before every action until it is a reflex.
Selections, which decide where an edit lands
Selections limit an edit to one area, and once a selection is active nothing you do affects anything outside it. The marching ants outline is the boundary, and there are 5 tools worth knowing on day 1.
Object Selection ToolatW, dragged around one object, which does the work automatically and is where you should always start.Quick Selection Toolin the same slot, painted across a shape, growing to the edges it detects.Magic Wandin the same slot again, clicked on a flat colour, withToleranceset to about32.Rectangular MarqueeatM, for crops, borders and anything with straight sides.Lasso ToolatL, drawn freehand, for the rough areas where precision does not matter.
Hold Shift while you drag to add to a selection and Alt (Option) to subtract, press Ctrl+Shift+I to invert it onto everything else, and press Ctrl+D to deselect. That last shortcut solves the beginner problem that looks like a broken program: with a selection still active somewhere off screen, every tool appears to do nothing at all.
Masks, and why you never press Delete
Masks hide part of a layer instead of deleting it, and switching from deleting to masking is the single change that makes work repeatable. A layer mask is a greyscale image attached to the layer: black hides, white shows, and grey is partial.
- Make a selection, then click the
Add Layer Maskbutton at the foot of theLayerspanel to hide everything outside it. - Click the mask thumbnail to target it, so your brush paints the mask rather than the picture.
- Press
Bfor theBrush Tool, pressDto reset the colours to black and white, and pressXto swap them. - Paint with black to hide more, paint with white to bring it back, and lower brush opacity to
20%for a gradual edge. - Press
\to see the mask as a red overlay on the picture, andAltclick the mask thumbnail to see it alone in black and white. - Add a
Gradientto a mask, dragged withG, to fade one layer into another across the frame.
Adjustment layers work the same way and are the second half of the same habit. Add a Curves or Hue/Saturation adjustment layer from the Layers panel rather than from Image > Adjustments, and the edit stays live and re editable instead of being burned into the pixels. Press Ctrl+Alt+G to clip an adjustment to the one layer directly below it.
Undo, history, and getting out of trouble
Undo in Photoshop is Ctrl+Z (Cmd+Z), pressed repeatedly to step further back, and Ctrl+Shift+Z to step forward again. That behaviour changed at one point in the program's history, so older tutorials tell you Ctrl+Z only toggles the last action and that Ctrl+Alt+Z is the real step backward. Both shortcuts still exist, and if a tutorial insists on the second one, you are reading something written for an older release, which is a useful thing to notice about any tutorial you find. Open Window > History to jump back 15 or 20 steps at once, and remember the history is discarded when the document closes.
Exporting, including exporting as PDF
To export from Photoshop, choose the format by what the file has to do, because the wrong one silently destroys the work.
- Save as
PSDfor the working file, which keeps layers, masks and adjustment layers intact. - Export to
PNGwhen the image has transparency, sinceJPEGhas no alpha channel and fills a cutout with white. - Export to
JPEGat quality80or higher for photographs on a web page, where file size matters and transparency does not. - Save as
Photoshop PDFthroughFile > Save Asfor anything going to print or to a client for review, tickingPreserve Photoshop Editing Capabilitiesto keep the layers inside thePDF. - Use
File > Export > Export AswithCtrl+Shift+Alt+Wfor web sized copies, where you can set dimensions and see the resulting file size before saving.
What to learn next, and what not to bother with
After the first hour, the next thing to learn is whichever operation you actually need, not a curriculum. Removing a background in Photoshop is the operation most beginners want first, and it is largely a single button now, which makes it a fast win and a good demonstration of masks. From there the useful order is retouching, colour adjustment, then type and layout. Photoshop, operation by operation lists them as separate operations rather than as a course, and Illustrator: the first hour does the same job for vector work, which is a different program for a different kind of file.
2 things are worth skipping. A downloadable tutorial PDF is the format most likely to be wrong, because it freezes menu positions and tool names from the year it was written and gives you no way to tell which year that was, and this site publishes none. Video tutorials on YouTube have the same problem in a less obvious form: check the upload date before you follow the steps, since a beginner series from 2016 will send you to a Refine Edge dialog that has since been replaced. This site is written in English only, so where you need instruction in Hindi, Tamil, Bangla, Malayalam, Kannada or Tagalog, look for a source dated within the last 2 years in that language rather than an older one in this one.
If you do not own the program, the free routes are real. The Photoshop mobile app launched on iPhone in February 2025, with Android later that year, and the base app is free, including selections, layers, masks, compositing, Tap Select and the Spot Healing Brush, which covers every concept on this page. The full feature set needs a subscription, either an existing desktop plan or the Photoshop Mobile and Web plan at $7.99 a month or $69.99 a year, and Photoshop on a phone sets out where the line falls. On a desktop, GIMP, which released 3.0.8 on 24 January 2026, Krita at 5.3.2.1 from 1 June 2026, Photopea in a browser and Paint.NET on Windows all have layers, selections and masks, so the first hour transfers to any of them.
Where to go next
Keep making.
All guides One click now
Remove the background. Keep the detail.
Start with one click. Learn what to do when hair, glass and difficult edges need a little more care.
 Still relevant
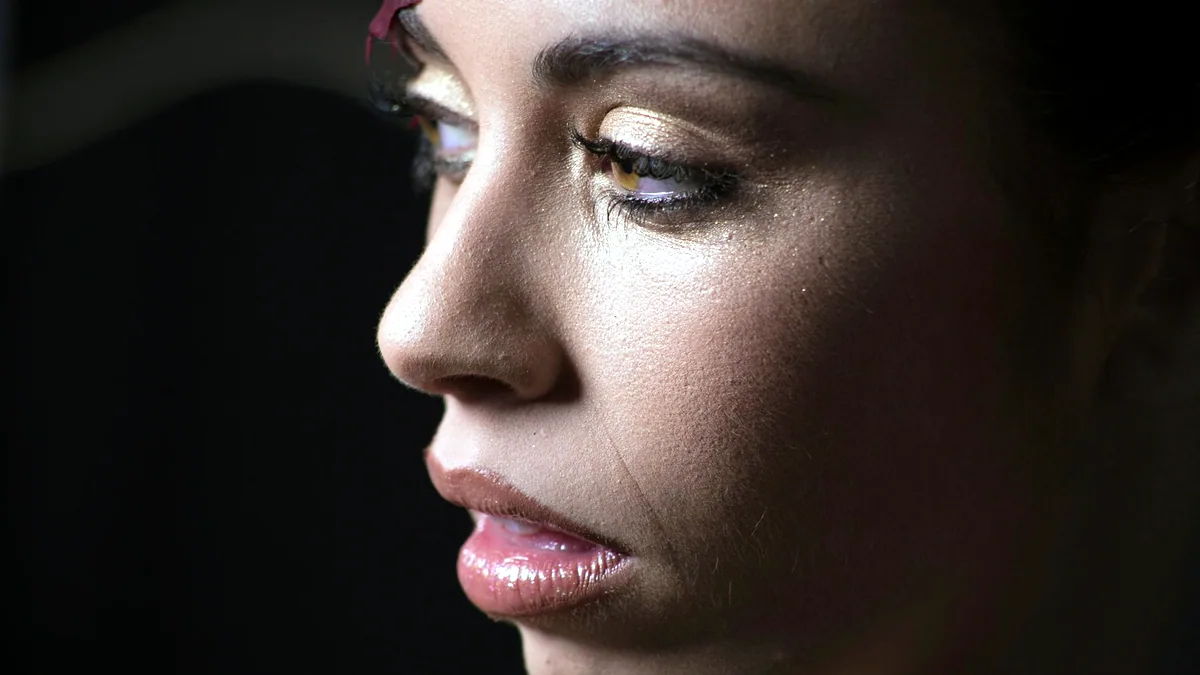
Retouch the portrait. Keep the person.
Natural texture, considered corrections and knowing when to put the brush down.
 Still relevant
A better way to blend in.
Understand what blend modes actually do, and choose the right one for the image.