Photoshop
Brushes, and where the free ones are
Free Photoshop brushes install by double-clicking the .ABR file, or from the Brushes panel menu with Import Brushes, and the largest free library most people already own is the one Photoshop ships with, reachable from the same panel without downloading anything. Verdict: CURRENT. The brush engine has not been absorbed into a button and nothing about a brush dates a picture on its own: the .ABR format, the panel that loads it and the 5 settings that decide how it behaves are the same ones the 2006 tutorials described. What changed is the amount of noise around the word free, so the useful part of this page is which sources are lawful, what a brush file can and cannot contain, and why a 5,000 item megapack makes you slower.
CURRENT
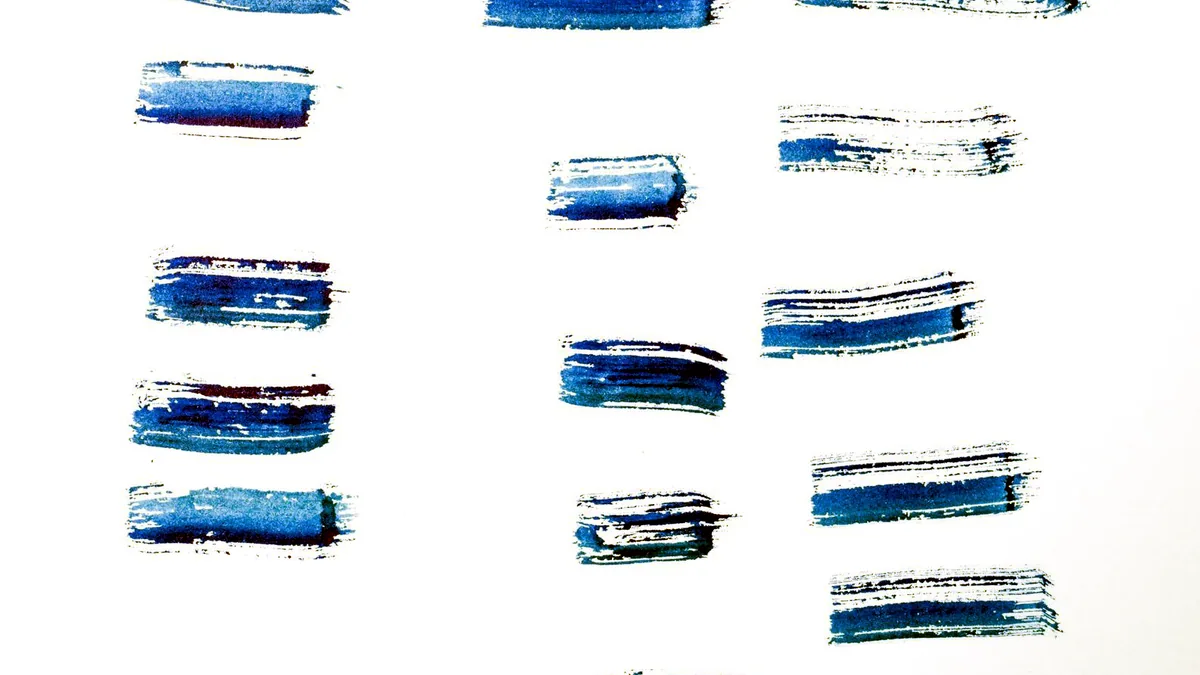
What an ABR file actually stores
An .ABR file stores brush tips and their behaviour, and nothing else: it is a data file with no executable part, which is why a brush pack that arrives as an .exe or wants to run an installer should be deleted unopened. Inside, each tip is a greyscale bitmap in which black paints at full strength, mid grey at roughly half, and white paints nothing, so a brush is a stencil rather than a picture. Alongside the tip, the file can carry the dynamics saved with it: Shape Dynamics, Scattering, Texture, Dual Brush, Color Dynamics, Transfer, plus flags such as Wet Edges and Noise.
Two consequences follow, and both explain complaints. A brush carries no colour, so a watercolor or a lightning set paints in your foreground colour and looks wrong until you set that colour deliberately. And a tip is a fixed number of pixels: a tree, cloud or explosion brush authored at 2,500 px is sharp at its own size and mushy when you drag it up to fill a 6,000 px canvas, because there is nothing there to enlarge. Check the size before you blame the set.
How to install a brush set, and where it ends up
To install a brush set, use one of 3 routes, in this order of preference:
- Double-click the
.ABRfile with Photoshop installed, which loads it straight into the current library. - Open
Window > Brushes, use the panel menu at the top right and chooseImport Brushes. - Open
Edit > Presets > Preset Manager, setPreset TypetoBrushesand clickLoad, which is the route older tutorials describe and which still exists.
What goes wrong at this step is storage, not loading. Importing copies the tips into Photoshop's own preset store, so the downloaded file stops being the thing that is read and deleting it changes nothing, while a reset of the tools or a fresh install can take the imports with it. Keep the original .ABR in a backed up folder, and group your imports into named sets in the panel as you go, because 40 unnamed brushes in a flat list is the state everyone ends up in and nobody recovers from. A zip that unpacks to a folder of .PNG stamps rather than an .ABR is not broken: open one, run Edit > Define Brush Preset, and it becomes a tip.
Where free brushes lawfully come from
Free brushes come from 4 lawful places, and all 4 are enough for real work:
- The sets already installed. Photoshop ships with general, dry media and wet media groups covering calligraphy, blending and basic round tips, and the Brushes panel menu is where you switch them on. Most people never look.
- The vendor's own downloads inside the program. The Brushes panel offers a route to fetch further official sets to your account, which costs nothing beyond the licence you already hold.
- Artists who publish their own sets. Individual illustrators release hair, eyelash, eyebrow, grass, silhouette and environment brushes under stated terms. Read the terms: free for personal use and free for commercial use are different offers, and a set with no licence text at all is a set you cannot safely bill a client for.
- The free programs themselves. GIMP and Krita are free and current, and each arrives with a full brush library of its own in its own format, so an
.ABRis a Photoshop file rather than a universal one and support for it elsewhere is partial. The free alternatives page covers what those programs are and which releases are current.
What this page will not do is name a crack, a serial, a keygen, a mirror or a torrent, for brushes or for the program that runs them, and the reason is practical as much as legal: an unauthorised installer is the one file in this whole subject that can actually damage the machine, while every brush you need is already free. If the real question underneath is the price of Photoshop, the free alternatives page answers it in full.
The 5 settings that decide whether it paints or stamps
The settings that decide whether a brush paints or stamps live in Window > Brush Settings, and 5 of them do almost all the work:
- Spacing. Defaults to 25% of the tip diameter. Raise it above 100% and a continuous stroke becomes a row of separate stamps, which is what you want for leaves and what ruins a hair stroke.
- Shape Dynamics. Adds size, angle and roundness jitter. Without it, a leaf or grass brush repeats identically and reads instantly as a repeated stamp.
- Scattering. Throws copies off the stroke path. Essential for a cloud, dust or explosion brush, wrong for anything that must follow a line.
- Transfer. Varies opacity and flow across the stroke. This is the one that separates a painted watercolor edge from a flat fill, and it is the one most often switched off in downloaded sets.
- Flow against Opacity. Opacity caps the whole stroke, flow builds within it. Set opacity to 100% and flow to 15% for blending, because that lets repeated passes accumulate the way real media does.
The shortcuts worth having under your hand
The shortcuts worth having under your hand are the 4 that stop you crossing the screen to the options bar. Press [ and ] to shrink and grow the tip. Press Shift+[ and Shift+] to soften and harden it. Type a number to set opacity, so 3 gives 30% and 0 returns to 100%. Hold Alt on Windows or Option on a Mac to sample a colour without leaving the Brush Tool, and right-click on the canvas to open the preset picker where you stand. Click once, then Shift click elsewhere, and Photoshop draws a straight stroke between the 2 points, which is the fastest way to lay a clean architectural line.
Making your own, and when a brush is the wrong tool
To make your own brush, paint or place the shape in black on white, select it, and choose Edit > Define Brush Preset. Colour is discarded and only the greyscale values survive, so build the shape in greys deliberately rather than hoping a colour photograph converts well. Save the result into a named set and export the set as an .ABR from the panel menu, because a preset that exists only in the preset store is a preset you will lose.
The judgement worth carrying away is that a brush is the wrong tool for 2 of the jobs people most often buy brushes for. Hair brushes paint hair, and they are excellent at extending a fringe or rebuilding a flyaway strand over a new background, but they do not cut existing hair away from an old one: that is a selection problem, and Removing a background in Photoshop is where it is solved. A megapack of several thousand tips is the second trap, because brush choice is a decision cost and a working painter cycles through 6 to 10 tips for an entire piece. Import the 10 you will use, name them, and leave the rest in the zip. PaintShop Pro, and where it stands now, covers the equivalent brush handling in Corel's program, Photoshop on a phone covers what survives on a touchscreen, and Photoshop, operation by operation lists the rest of them one by one.
Where to go next
Keep making.
All guides One click now
Remove the background. Keep the detail.
Start with one click. Learn what to do when hair, glass and difficult edges need a little more care.
 Still relevant
Retouch the portrait. Keep the person.
Natural texture, considered corrections and knowing when to put the brush down.
 Still relevant
A better way to blend in.
Understand what blend modes actually do, and choose the right one for the image.