Photoshop
Changing one colour in a photo
To change one colour in a photo, add a Hue/Saturation adjustment layer from the half filled circle at the bottom of the Layers panel, switch its channel dropdown from Master to the colour family you are changing, and drag Hue. Verdict: CURRENT. The colour change itself has not moved in 20 years and no button replaced it. What did change is the step before it: making the selection that confines the change to one object is now a single click on Select Subject in the Contextual Task Bar, where in 2006 it was 10 minutes with a pen path.
CURRENT
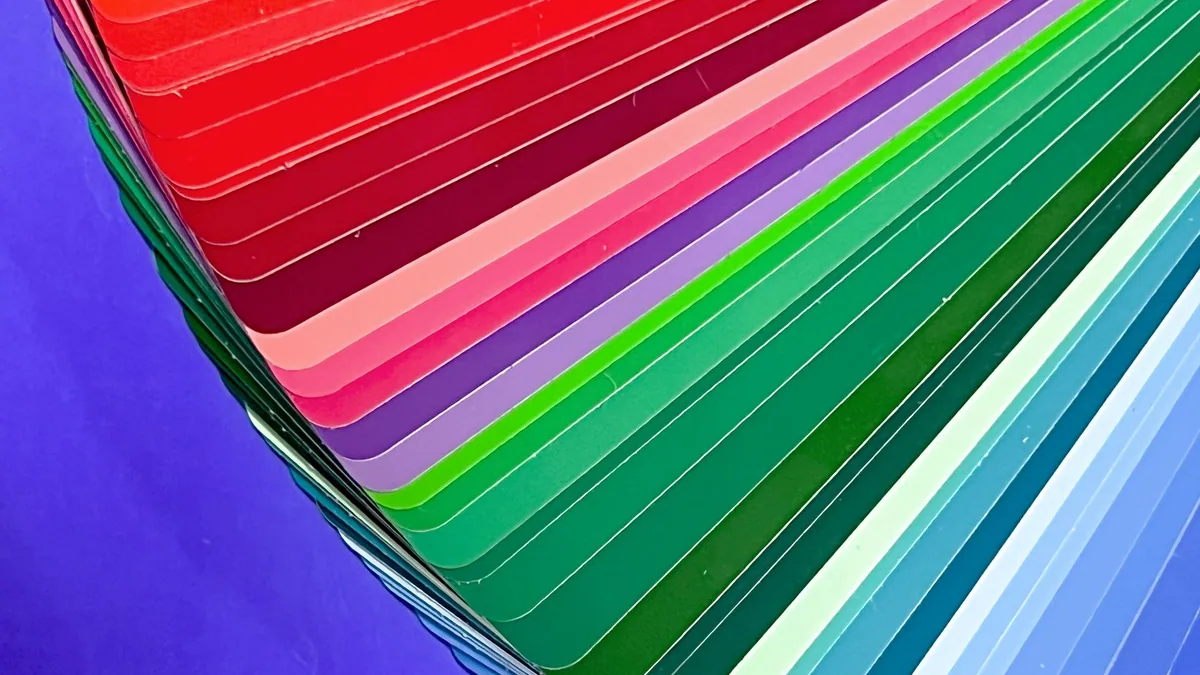
The 3 controls that change a colour, and when each is right
Photoshop offers 3 real routes to a colour change and they fail in different places, so pick by the object rather than by habit.
| Control | Where it lives | Use it when |
|---|---|---|
Hue/Saturation adjustment layer | Layers panel, adjustment icon; Ctrl U for the destructive version | the object already has a colour and the new colour is a similar brightness |
Solid Color fill layer on a blend mode | Layer > New Fill Layer > Solid Color | the object is white, black, grey, or the new colour is far lighter or darker |
Replace Color | Image > Adjustments > Replace Color | you want sampling and hue shift in 1 dialog and do not need it reversible |
The adjustment layer is the default answer for a reason: it stays editable, it carries its own mask, and you can drop its opacity to 60% a week later when the client says it is too much. The other 2 bake the change in unless you duplicate the layer first.
Hue/Saturation, and the colour bar most people never touch
Hue/Saturation targets one colour only once you leave Master. Select Reds, Yellows, Greens, Cyans, Blues or Magentas from the dropdown and 2 things appear at the bottom of the Properties panel: 3 eyedroppers, and 4 markers sitting between the 2 colour bars. Those markers are the whole control and most people never move them.
- Click the small hand icon at the top left of the
Propertiespanel, then click the object in the image. The markers snap to the colour you clicked. - Drag on the image with that same hand to change
Saturation, or holdCtrland drag to changeHue, which is faster than aiming at the sliders. - Drag the 2 inner vertical bars to widen or narrow the band of colour being affected.
- Drag the 2 outer triangles to set the falloff, which is how the change stops without leaving a visible border in a gradient.
- Add to the range with the middle eyedropper, marked
+, if part of the object is being missed.
What goes wrong here is the falloff. Pull the outer triangles hard in against the inner bars and the effect switches on and off abruptly, so a red car changing to blue shows a hard line across the bonnet where the reflection shades from red to orange. Pull them out by 15 to 30 units and the transition disappears. The other common failure is that a second red object elsewhere in the frame changes too, and no slider fixes that. That is a masking problem, not a colour problem.
The mask that keeps the change off everything else
The mask that confines a colour change is built once and reused by every adjustment you clip above it. Build it before you touch a slider.
- Select the object. Click
Select Subjectin the Contextual Task Bar when the object is the subject, or takeSelect > Color Rangewhen the object is defined by its colour, sampling with the eyedropper and raisingFuzzinessuntil the object fills in. - Tick
Localized Color ClustersinColor Rangeso the selection stops leaping to a matching colour on the far side of the image. - Add the
Hue/Saturationlayer while the selection is live, and the selection becomes the layer mask automatically. - Check the mask by holding
Altand clicking its thumbnail, which shows it full screen in black and white, or press\to see it as a red overlay on the picture. - Soften the edge with the
Featherslider in the mask's ownProperties, usually0.5to2 px, which is non destructive, rather than blurring the mask itself. - Paint on the mask with a soft black brush to remove the change where it leaked, and with white to add it back. Press
Xto swap the 2 colours as you go.
The edge is where a recolour is exposed. A mask cut exactly on the object's outline leaves a rim of the old colour 1 pixel wide, because the outermost pixels are a blend of object and background. Contract the selection by 1 px with Select > Modify > Contract before you make the mask, or run the Refine Edge Brush in Select and Mask across any hair or fur. To delete one colour instead of changing it, take the same Color Range selection and add a mask rather than pressing Backspace, so the pixels are hidden and not destroyed.
When Hue/Saturation refuses: white, black and very dark objects
Hue/Saturation cannot change the colour of a white, black or grey object, and this is not a fault. Rotating hue on a pixel with no saturation rotates nothing, so a white shirt stays white however far you drag. Ticking Colorize forces a hue onto everything in the mask, which works for a flat shirt and destroys a photograph if the mask is loose.
The reliable route for these cases is a fill layer on a blend mode:
- Turn a white object a colour with a
Solid Colorfill layer set toMultiply, clipped to the same mask. White multiplied by the fill becomes the fill, and the folds and shadows, which are greys, become darker versions of it, so the shading survives intact. - Turn a black object a colour by lifting it first with a clipped
Curveslayer until it holds visible mid greys, then applying theSolid Colorfill onColor. - Move a dark red car to yellow by clipping a
Hue/SaturationatSaturation-100to strip the red, then aSolid Colorfill onColor, then aCurveslayer to rebuild the contrast that stripping the saturation flattened. - Recolour a pattern fill layer by clipping a
Hue/Saturationabove it withColorizeticked, rather than editing and redefining the pattern tile.
The reason Color is the mode of choice is that it takes hue and saturation from the fill and leaves luminosity to the picture underneath, so every highlight and every shadow stays exactly where the camera put it. Hue alone leaves the object undersaturated, and Normal at reduced opacity leaves it looking painted. The full set of modes and what each does is on the blend modes page.
Replace Color, the Color Replacement Tool and the fast route
Replace Color is Color Range and Hue/Saturation in one dialog, at Image > Adjustments > Replace Color. Click the object, raise Fuzziness until the white preview thumbnail shows the object and nothing else, then move Hue, Saturation and Lightness. It is quick and it is destructive, so duplicate the layer with Ctrl J first, or convert to a Smart Object so it applies as an editable Smart Filter.
The Color Replacement Tool is nested under the Brush Tool in the toolbar and shares the B key, cycled with Shift B. It paints the foreground colour while preserving texture, and its Options bar carries Mode set to Color by default, Sampling set to Continuous, Once or Background Swatch, Limits, and a Tolerance percentage. Set Sampling to Once and click on the exact colour you want replaced, and the brush will only affect that colour even when your cursor wanders. It is genuinely useful for small awkward areas such as a logo on a folded sleeve, and it is destructive, so it belongs on a duplicated layer.
Changing the keyboard shortcuts, and the Illustrator version of the question
Change Photoshop's keyboard shortcuts at Edit > Keyboard Shortcuts, reached with Alt Shift Ctrl K on Windows and the Option Shift Command K equivalent on macOS. Pick Application Menus, Panel Menus or Tools from the dropdown, click the command, type the combination, and save the whole thing as a named set with the disk icon so an update does not return you to the defaults. Selective Color and Replace Color both ship with no shortcut and are worth assigning if you use them daily.
Illustrator has no background colour to change, which is the answer to the question people arrive with. An Illustrator artboard is transparent by default; draw a rectangle over it and send it behind everything with Shift Ctrl [, or tick Simulate Colored Paper in File > Document Setup for a preview tint that does not print. That is a vector problem rather than a photo problem, and it belongs in the Illustrator section.
One export note, because a recolour is easy to lose at the last step. Convert the finished file with Edit > Convert to Profile to sRGB IEC61966-2.1 before saving for the web, since browsers assume sRGB and an untagged Adobe RGB file will render the new colour duller than you approved. If the picture is going onto a site, that and the file size are the 2 things worth settling before upload, and WordPress, for someone who has to run one covers what happens to images after that. The rest of the operations are indexed on Photoshop, operation by operation, including Removing a background in Photoshop, and the free tier described on Photoshop on a phone carries selections, layers and masks if you are working away from the desk.
Where to go next
Keep making.
All guides One click now
Remove the background. Keep the detail.
Start with one click. Learn what to do when hair, glass and difficult edges need a little more care.
 Still relevant
Retouch the portrait. Keep the person.
Natural texture, considered corrections and knowing when to put the brush down.
 Still relevant
A better way to blend in.
Understand what blend modes actually do, and choose the right one for the image.