Illustrator
Illustrator, operation by operation
One useful technique at a time. Explore the Illustrator guides, then get back to making.
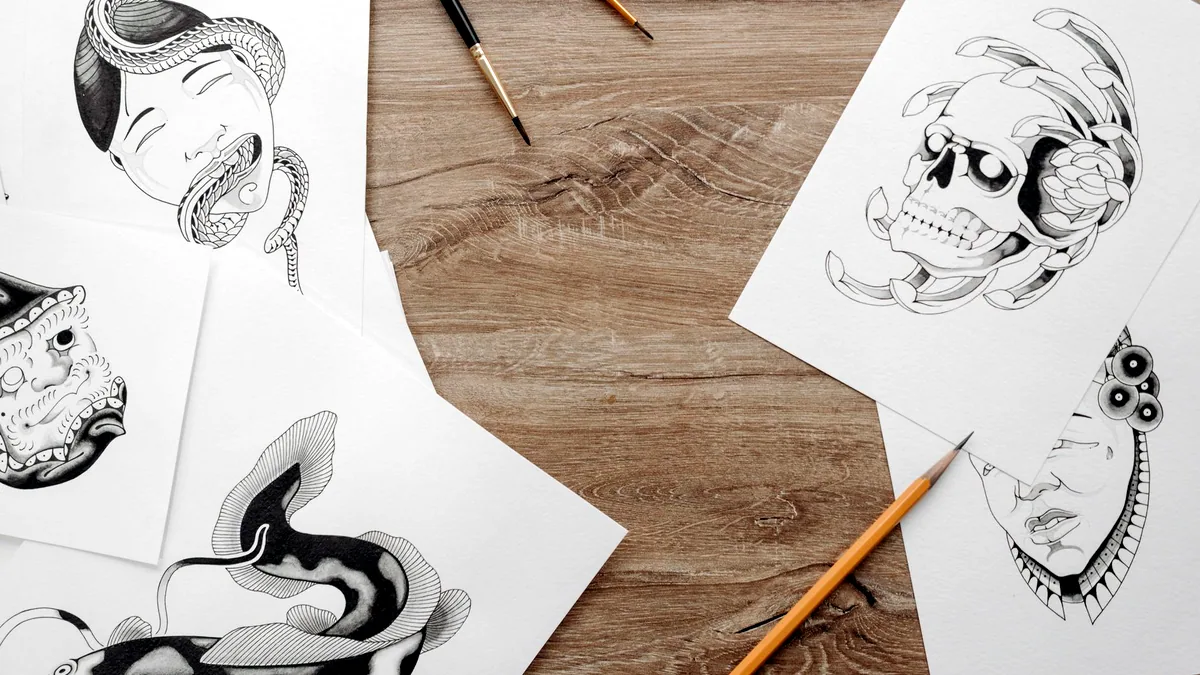
Your first hour in Illustrator.
Get comfortable with paths, anchor points and a different way of drawing.
 Still relevant
Find your flow with gradients.
Build colour transitions with control, from a simple blend to a freeform gradient.
 One click now
From pixels to paths.
Turn an image into editable vector artwork, and know when Image Trace needs help.
 Still relevant
Small spaces. Better typography.
Kerning and tracking: the adjustments that make type feel considered.

Illustrator or InDesign: which one for the job
 Still relevant
What the generative tools in Illustrator actually do
Illustrator is Adobe's vector drawing program, and an Illustrator tutorial is only worth the afternoon if it names the panel that each step actually lives in, because the menu path is the part that moves between releases and the idea underneath does not. This page is the way in rather than a list of exercises: what a vector is, the 4 tools that carry most of the first month, how guides, grids and artboards get set up before you draw, and the places where a first afternoon disappears. Shortcuts below are the Windows ones. On macOS, swap Ctrl for Cmd and Alt for Option.
What a vector is, and when it is the wrong thing to draw
A vector is a shape stored as instructions rather than as pixels: 2 or more anchor points, the curve segments between them, a fill and a stroke. Nothing in that description has a size, which is the whole point. The same file prints a 30 mm logo on a business card and a 3 m banner on a wall at identical quality, because the shape is recalculated at output rather than enlarged. A photograph cannot work that way, because a photograph is a grid of pixels with a fixed count, and enlarging it invents nothing.
That gives you the decision at the front of every job. Draw in Illustrator when the artwork is made of shapes: logos, icons, maps, diagrams, packaging, signage, type set as artwork. Work in Photoshop when the artwork is made of photographic pixels: retouching, compositing, masking a subject out of its background. Placing a photograph into an Illustrator document with File > Place does not convert it, and the tracing engine is the only bridge between the two, with the limits that come with it.
The formats follow the same split. Keep .ai as the working master, export .svg for screen use, .pdf for anyone who has to open it without Illustrator, and .eps only when a printer asks for it. Exporting .png or .jpg flattens the artwork into pixels, so never treat an export as your copy of the file.
The 4 tools that carry the first month
Four tools do most of the work in Illustrator, and every one of them has a single-key shortcut, which is why experienced users appear to switch tools without moving the mouse to the toolbar.
Selectiontool, shortcutV: selects whole objects and groups, and shows the bounding box you scale and rotate with.Direct Selectiontool, shortcutA: selects individual anchor points and segments inside an object, which is how a shape gets changed rather than moved.Pentool, shortcutP: places anchor points and drags out the handles that set the curve. Click for a corner, click and drag for a curve, and holdAltwhile dragging a handle to break the symmetry of the point.Shape Buildertool, shortcutShift+M: merges and subtracts overlapping shapes by dragging across them, and removes a region when you holdAltand click it.
Add the Type tool, shortcut T, and you can build almost anything a client asks for. The Pen tool is the one people avoid for months, and avoiding it is the single largest brake on progress, because Shape Builder and the shape tools stop short exactly where real artwork starts.
Guides, grids and artboards, before you draw anything
Guides and grids are set up first, not rescued later, and Illustrator gives you 4 separate systems that people confuse with each other.
- Create the document with
File > Newand set the colour mode there:CMYKfor print,RGBfor screen. Changing it later atFile > Document Color Modeshifts every colour in the file. - Show the rulers with
Ctrl+R, then drag a guide out of the top or left ruler onto the artboard. - Turn the grid on with
Ctrl+", and set gridline spacing and subdivisions in theGuides & Gridsection ofPreferences. - Switch
Smart Guideson withCtrl+Ufor the temporary alignment hints that appear as you drag. - Lock the guides with
Alt+Ctrl+;so you stop selecting them by accident, and hide or show them all withCtrl+;. - Select any drawn artwork and press
Ctrl+5to turn it into guides, which is how a bespoke layout grid gets made rather than a square one. - Use
Object > Path > Split Into Gridwhen you want a real grid of rectangles you can fill, with the row and column gutters set in the dialog. - Add artboards with the
Artboardtool, shortcutShift+O. One document holds up to 1000 of them, and their order sets the order of a multi page export.
What goes wrong here is nearly always the same 2 things. Unlocked guides get picked up and dragged with the artwork, which is invisible until something no longer aligns. And snapping fights itself: with both Snap to Grid and Smart Guides active, objects jump to whichever wins, so turn one off while you position precisely.
Where a first afternoon disappears
The afternoon goes to 6 traps, and none of them are difficult once you know the name of what happened.
- Nothing appears when you draw: fill and stroke are both set to
None. PressDfor the default white fill and black stroke,Xto move focus between fill and stroke,Shift+Xto swap them. - The screen turns into a wireframe: you pressed
Ctrl+Y, which togglesOutlineview. Press it again. It is genuinely useful for finding stray paths. - Only one group will select: a double click put you inside
Isolation Mode. PressEscape, or click the grey bar across the top of the window. - Strokes stay thin while the shape triples:
Scale Strokes & Effectsis off. It sits in theGeneralsection ofPreferencesand in theTransformpanel menu. - The file reaches the printer with a picture missing:
File > Placelinks images by default. Check theLinkspanel, useEmbed, or hand over a.pdf. - Type reflows on somebody else's machine: they do not have the font.
Type > Create Outlines, shortcutShift+Ctrl+O, converts letters to paths, but it is one way, and outlined type cannot be re-spaced in theCharacterpanel afterwards, which is the argument for keeping an editable copy and settling the letter spacing before you outline anything, since Kerning and tracking works on live type only.
When Illustrator is not responding
Illustrator not responding is usually a long operation rather than a crash, so the first move is to wait rather than to force quit.
- Wait 60 seconds. Tracing a 4000 px photograph, a blend with several thousand steps and raster effects at 300 ppi all hold the interface while they finish.
- Open
Effect > Document Raster Effects Settingsand drop the resolution to 72 ppi while you work, then raise it before final output. - Clear the
Previewcheckbox in theImage Tracepanel, which otherwise re-traces the whole image every time you touch a slider. - Close the documents you are not using. Each open file carries its own undo history in memory.
- Restart the application and take the recovered document it offers on the next launch. The recovery interval is set in the
File Handlingsection ofPreferences. - Sign in again if
Window > Librariesshows nothing. Libraries are fetched over the network, so an empty panel is normally the connection or the account rather than damage to your document.
Judging a tutorial before you follow it
Judge an Illustrator tutorial by what it calls things, because the vocabulary dates it faster than the upload date does. A tutorial that says Live Trace was written before that feature was rebuilt and renamed Image Trace. One that speaks of a single canvas, with no mention of artboards, predates multiple artboards entirely. One that exports through Save for Web predates Export for Screens. None of those are worthless, but you will be translating while you work.
Free tutorials are the norm rather than the exception: the vendor publishes its own help and step by step articles at no charge, and video platforms carry Illustrator instruction in Hindi, Tamil, Bangla and dozens of other languages. The interface language is fixed where the application is installed, not inside Illustrator, so a video in a language you do not read is still followable whenever the presenter shows the panel. Tutorials distributed as .pdf date the fastest of all, because nobody can correct them after publication, and forum threads are worth reading for which teachers are reliable rather than for the steps themselves.
An advanced tutorial earns its length when it teaches a mechanism rather than one poster: the Appearance panel, shortcut Shift+F6, which stacks several fills, strokes and effects on 1 object; the Pathfinder panel, shortcut Shift+Ctrl+F9; clipping masks with Ctrl+7. To stop the in-application tutorials appearing, note that they live on the Home screen and in a panel opened from the Window menu, and that the General section of Preferences holds the option controlling whether the Home screen shows when no documents are open. Its wording has changed between releases, so read the page rather than hunting a checkbox by name.
What Illustrator is not the tool for
Illustrator stops being the right answer at 3 borders. Photographs belong in Photoshop, where retouching, compositing and masking a subject out of its background are done, and Photoshop, operation by operation indexes those one at a time. Long documents belong in InDesign the moment there are running page numbers, threaded columns or a table of contents, which is the whole of the Illustrator or InDesign question. Websites belong to a different manual: exporting .svg is where the two subjects touch, and everything after that, such as WordPress, CSS and PHP, is somebody else's page.
On cost, Illustrator is licensed software and there is no lawful free copy of it. Adobe sells it on subscription and offers whatever trial it is running on its own site at the time you look, which is the honest route to trying it. If the budget is genuinely zero, the free programs worth your time are Inkscape for vector drawing, and GIMP, Krita, Photopea and Paint.NET for raster work, all of which are free to download from their own projects. Learning the concepts in any one of them transfers, because anchor points, fills, strokes and layers are not Adobe's inventions.
Where to go next
Keep making.
All guidesStill relevantFind your flow with gradients.
Build colour transitions with control, from a simple blend to a freeform gradient.
One click nowFrom pixels to paths.
Turn an image into editable vector artwork, and know when Image Trace needs help.

Your first hour in Photoshop.
Start with layers, selections and masks. Build a foundation you can keep using.