Photoshop
Patterns, and how to make your own
Photoshop patterns are tiling images saved as presets, they live in the Patterns panel, they travel as .PAT files, and you make your own from a rectangular selection with Edit > Define Pattern. Verdict: CURRENT. Nothing about patterns has been absorbed into a button and nothing about them dates a picture by itself: the same 4 ways of applying one that worked in 2006 still work, and the method for building a seamless tile is unchanged because it is arithmetic, not a feature. What has changed is where the panel sits and which libraries load by default, which is why the commonest pattern question now is not how to make one but where the old ones went.
CURRENT
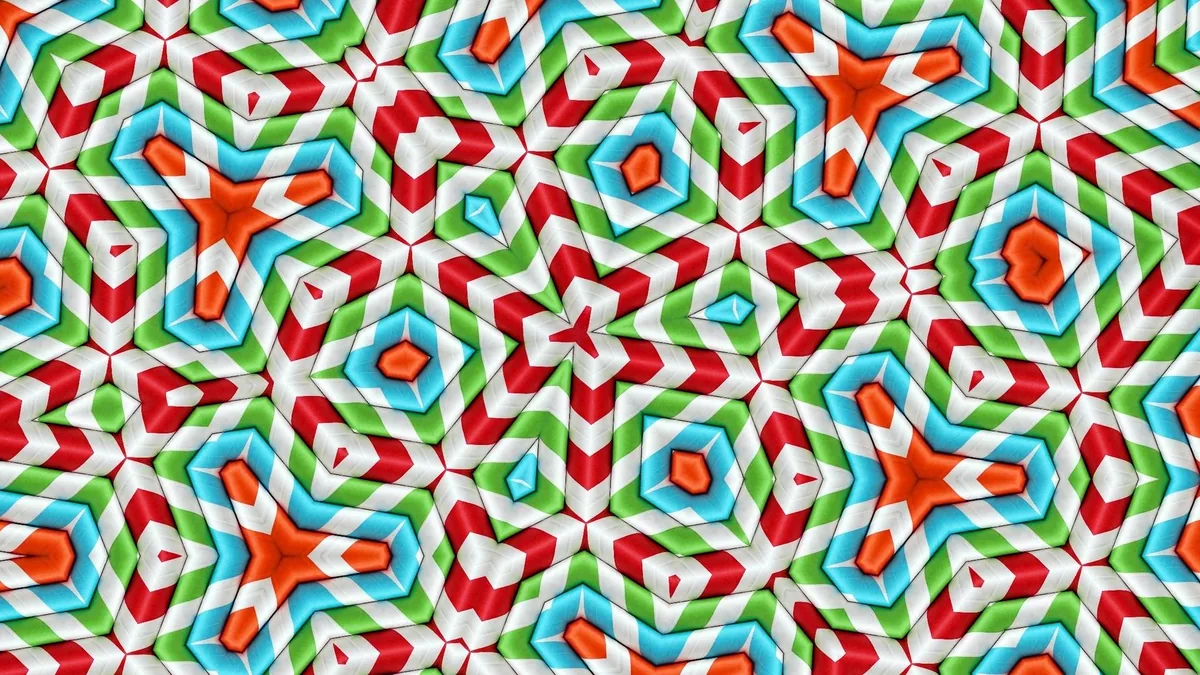
Where patterns live, and why yours disappeared
Patterns live in the Patterns panel, opened from Window > Patterns, and in every picker that offers a pattern: the Contents menu of Edit > Fill, the Pattern Overlay pane of the Layer Style dialog, and the options bar of the Pattern Stamp Tool. All of those read the same library, so a set imported once appears in all of them.
If the default patterns you remember are missing, they were not deleted, they were moved. Photoshop replaced its shipped pattern libraries with a smaller modern set and filed the older ones under Legacy Patterns and More, which you add back from the Patterns panel menu at the top right of the panel. That single item restores the grids, the paper textures and the old nature set in one go. Two things go wrong here. Adding the legacy group does not remove the new one, so the panel gets long and you should collapse the groups you are not using. And a pattern that a document already uses is stored inside the .PSD, so an old file keeps rendering correctly even when the panel no longer lists that pattern by name, which makes the loss look worse than it is.
What a pattern file is, and how to install one
A pattern file is a .PAT, and it is a data file, not a program. It sits in the same family as .ABR for brushes, .ASL for layer styles, .GRD for gradients and .CSH for custom shapes, and like all of them it contains pixels and names, nothing executable. To install one, use either route:
- Double-click the
.PATfile with Photoshop installed, which loads it into the current library. - Open the Patterns panel menu, choose
Import Patterns, and pick the file.
What goes wrong at this step is storage. Importing copies the tiles into Photoshop's own preset store, so the file you downloaded is no longer the thing being read, and deleting it does not remove the patterns. Keep the original .PAT in a folder you actually back up, because a preset store rebuilt with a new install or a reset of the tools does not carry your imports with it. A downloaded set that arrives as an .exe or asks you to run an installer is not a pattern set, and there is no reason for a bag of tiles to need one.
The 4 ways to put a pattern on the picture
To put a pattern on the picture, pick the route that matches how much you expect to change your mind:
- Pattern fill layer. Choose
Layer > New Fill Layer > Pattern. This is the only fully non-destructive route: theScalevalue and the tile itself stay editable, and it arrives with a layer mask you can paint on. - Pattern Overlay. Double-click a layer to open Layer Style and use the
Pattern Overlaypane. Best when the pattern should follow one object, because it is clipped to that layer's pixels and moves with them. - Fill. Press
Shift+F5or chooseEdit > Fill, setContentstoPattern. Fast, flat and permanent, so put it on an empty layer rather than on the photograph. - Pattern Stamp Tool. Paints the pattern by hand where you brush. Useful for a texture that should thin out toward the edges of a face or a wall.
The failure common to all 4 is scale. A pattern set below 100% is resampled every time it repeats, and the resampling error repeats with it, so a fine geometric or line pattern reduced to 40% often develops a faint moire grid that was not in the tile. Scale up rather than down where you can, or rebuild the tile at the size you actually need.
How to build a seamless tile that actually tiles
To build a seamless tile, move the seams into the middle of the canvas where you can retouch them, then define the result:
- Start a square document at a power of 2, such as
512 x 512 px, and keep the motif clear of all 4 edges. - Flatten a copy of the artwork, because what you are about to capture should be exactly what you see.
- Run
Filter > Other > OffsetwithHorizontalat256,Verticalat256, andUndefined Areasset toWrap Around. Half the width and half the height is the whole trick: the 4 outer edges now meet as a cross in the centre. - Heal the cross with the
Spot Healing Brushand theClone Stamp, staying away from the outer 1 px border, which is already matched and must not be touched. - Deselect with
Ctrl+Don Windows orCmd+Don a Mac, then chooseEdit > Define Patternand name it. - Test it in a new document at 4 times the tile size, filled with the pattern, viewed at 100%.
Edit > Define Pattern greys out for 2 reasons, and both catch people at step 5: an active selection that is not rectangular, and a rectangular selection with any feather on it. Set Feather to 0 px or deselect entirely. The other classic failure appears only in the test document: a motif that reads as random inside one tile becomes an obvious diagonal repeat across 16 of them, because the eye finds the brightest or darkest spot and joins it up. Fix that by moving the strongest element off centre and adding a second, weaker one, rather than by softening the whole tile. If your version offers View > Pattern Preview, it shows the repeat live while you work and saves the test document; the 6 steps above do not depend on it.
Architectural hatches, dots and lines, where scale bites
Architectural patterns are the case where the tile has a real-world size, so decide the scale before you draw. A brick, gravel or timber hatch for an elevation is only correct at one ratio, and the way to hold it is to build the tile as a known measurement: a 600 x 600 px tile standing for 1 metre, or 39.4 inches, of wall gives you 1.67 mm per pixel, and every later drawing at that output resolution can use the same set without rescaling. Architecture aside, the 2 most requested pattern shapes are also the 2 least forgiving: dots and lines. Both are pure geometry, so any rounding error shows as an uneven gap on one row, and both should be drawn on a canvas whose dimensions divide exactly by the spacing you want. A 5 px line on a 512 px tile will not divide evenly; on a 500 px tile it will.
Free pattern downloads, and how to judge one
Free pattern packs are everywhere, including the large art communities such as DeviantArt where the 2006 generation of designers published theirs, and the useful question is not where but whether. Judge a set on 3 things before you import it: the licence text that says whether commercial use is allowed, the file itself being a plain .PAT inside a zip rather than an installer, and the tile size, since a set built for the 1024 px wide layouts of the period is too small to survive a modern display without going soft. TipClique published 2 free pattern sets of its own in 2007, at the addresses ending set-001 and set-002, and this page is what stands at those addresses now. The method is here rather than the files, because a tile drawn for a 1x screen 19 years ago is the wrong size for the work you are doing today, and rebuilding one at the size you need takes about 10 minutes with the offset routine above.
Patterns also sit next to 2 other operations you may have come for. Brushes are the same idea with a different file extension and a different panel, and they are covered separately. Removing a background in Photoshop is the page to read if the reason you want a pattern is to put a new one behind a cut-out subject, and Photoshop on a phone answers whether any of this is possible away from the desktop. Photoshop, operation by operation lists the rest.
Where to go next
Keep making.
All guides One click now
Remove the background. Keep the detail.
Start with one click. Learn what to do when hair, glass and difficult edges need a little more care.
 Still relevant
Retouch the portrait. Keep the person.
Natural texture, considered corrections and knowing when to put the brush down.
 Still relevant
A better way to blend in.
Understand what blend modes actually do, and choose the right one for the image.